

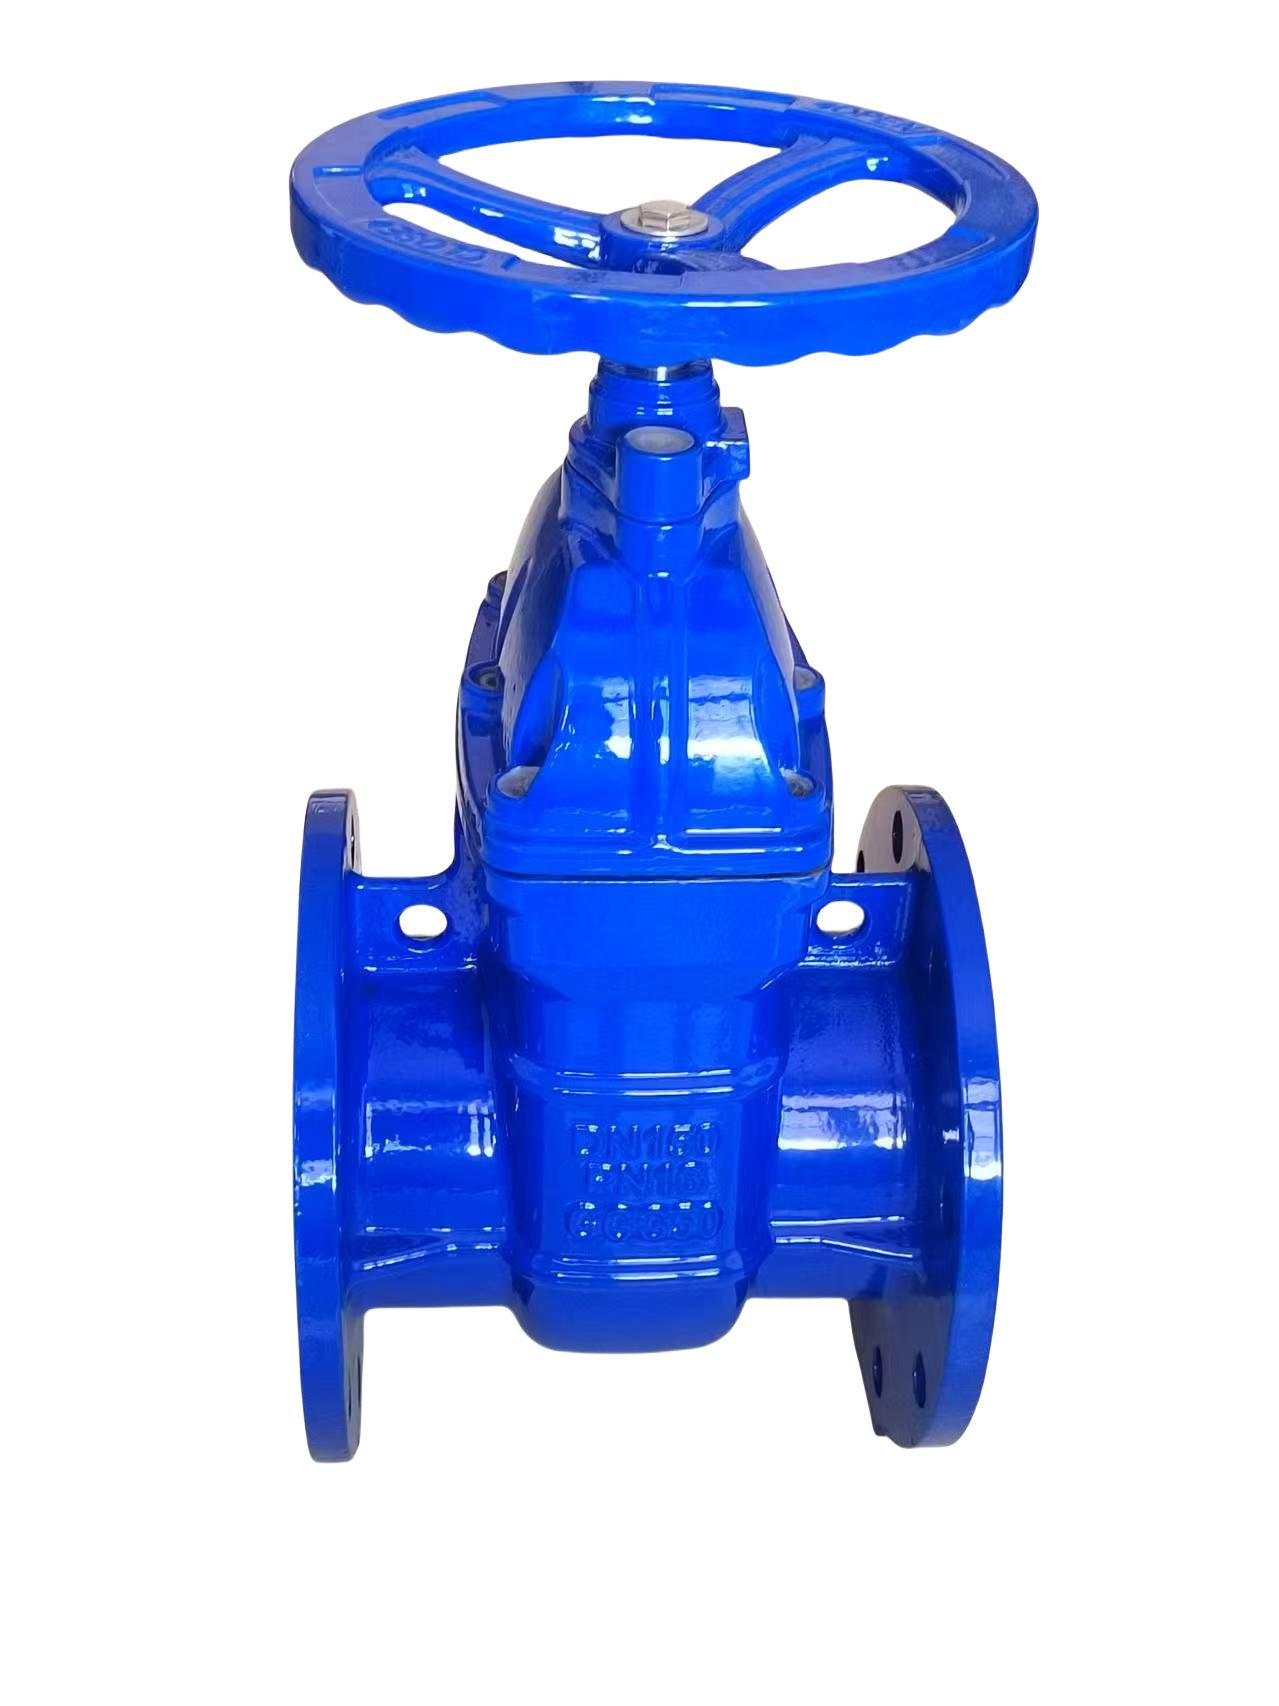
How to operate metal sealed gate valves during long-term shutdown and major repairs?
Release Time:
Aug 20,2025
Before any maintenance operation, it is necessary to confirm that the system has been safely isolated (double cut-off+pressure relief+emptying+locking and tagging/LOTO) and cooled to a safe temperature. When handling toxic, harmful, flammable and explosive media, follow special safety regulations and wear appropriate protective equipment (PPE). When operating the valve, it is strictly prohibited to exceed the maximum operating torque on the valve nameplate or use an extended wrench for rough operation. Valves with residual energy (such as springs or gravity) that are operated or handled under pressure pose a high risk and should be carried out by trained professionals in accordance with regulations
Shutdown and major maintenance
1. Long term discontinuation:
Place the valve in the fully open or fully closed position (usually recommended to fully open unless there are special requirements) to avoid a half open state.
Drain the medium inside the valve chamber (especially corrosive, easily crystallized, and prone to freezing).
Thoroughly clean and dry the inside and outside of the valve.
Apply rust proof oil/grease to exposed metal surfaces such as valve stems and flange sealing surfaces.
Seal all openings (flange ports, discharge ports, instrument interfaces, etc.) to prevent dust and moisture from entering.
Regularly (e.g. monthly) manually open and close the valve several times to prevent rusting of moving parts.
2. Disassembly and overhaul:
When the valve experiences serious internal leakage, external leakage, extremely difficult operation, bent valve stem, damaged sealing surface, or reaches the predetermined operating cycle or manufacturer's recommended maintenance cycle, disassembly maintenance is required.
It must be carried out by professionals under safe isolation conditions!
Key steps:
Thoroughly isolate, depressurize, empty, flush, and cool down the system.
After marking the relative positions of the components, disassemble them in an orderly manner.
Thoroughly clean all components to remove oil stains, rust, deposits, etc.
go over:
Seat sealing surface&gate sealing surface: Check for scratches, dents, erosion, deformation, and severe wear. Slight and uniform wear of the metal sealing surface is normal, but local damage can affect the seal. Check if the contact wire is continuous and uniform.
Valve stem: Check for bending, scratches, corrosion, and thread wear. The curvature should be controlled within the standard range (such as ≤ 0.1mm/100mm).
Valve stem nut: whether the thread is worn or stuck.
Connection between valve stem and gate (such as T-shaped groove): Check whether the clearance between the fit is normal, whether there is wear or deformation.
Valve body and valve cover cavity: Check for corrosion, erosion, and cracks.
Bolts and nuts: Check if the threads are damaged and if there is any tensile deformation.
Packing box: Whether the inner hole is smooth and free of scratches.
Repair or replace:
Minor damage to the sealing surface can be repaired by grinding (requiring specialized grinding tools and grinding paste, with high technical requirements).
When severe damage (such as deep pits, severe deformation) or grinding cannot be repaired, replace the valve seat and/or gate sealing ring (if replaceable), or return to the factory for processing.
The valve stem must be replaced if it is bent, severely worn or corroded.
The valve stem nut must be replaced if it is worn.
Damaged bolts and nuts must be replaced (it is recommended to use equivalent or higher grade materials).
Reassemble:
Assemble strictly in accordance with the manufacturer's drawings and instructions.
Use new high-quality gaskets (wrapped gaskets, metal ring gaskets, etc., selected according to pressure and temperature).
Tighten the flange bolts evenly, alternately, and to the recommended torque.
Install new packing according to the aforementioned requirements.
Apply sufficient high-temperature grease to all sliding friction parts (valve stem threads, guide grooves, gate guide rails, etc.).
Testing:
Low pressure airtightness test: Check the sealing of the packing, middle flange, and valve body.
High pressure sealing test: Conduct a sealing test on the valve seat sealing surface and valve body/flange on the test bench according to relevant standards (such as API 598) (usually using water or gas).
Operation test: Check the smoothness of the switch and the full travel time/number of turns.
Hot News


—Contact Us
WhatsApp/Wechat:
E-mail:

Hello, what can I do for you?
We will contact you within one working day. Please pay attention to your email.