

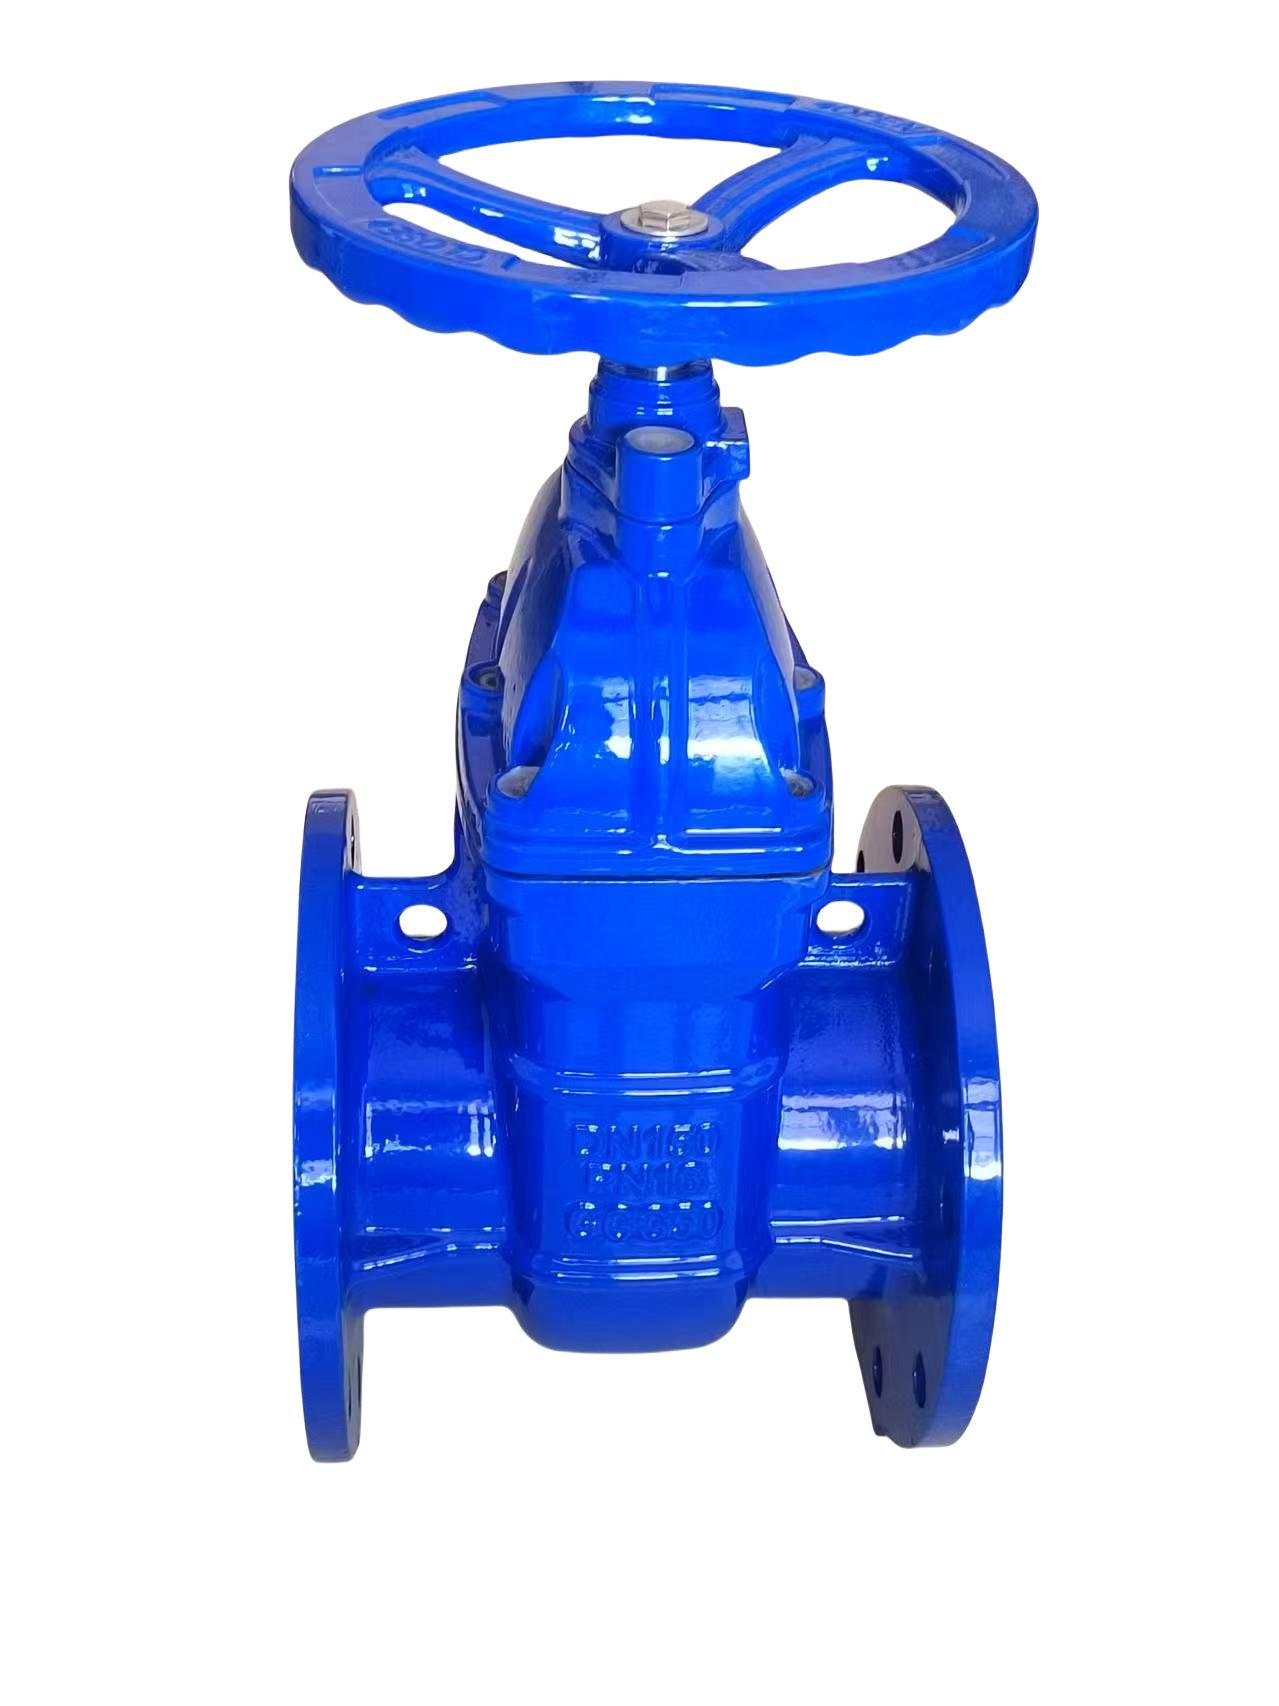
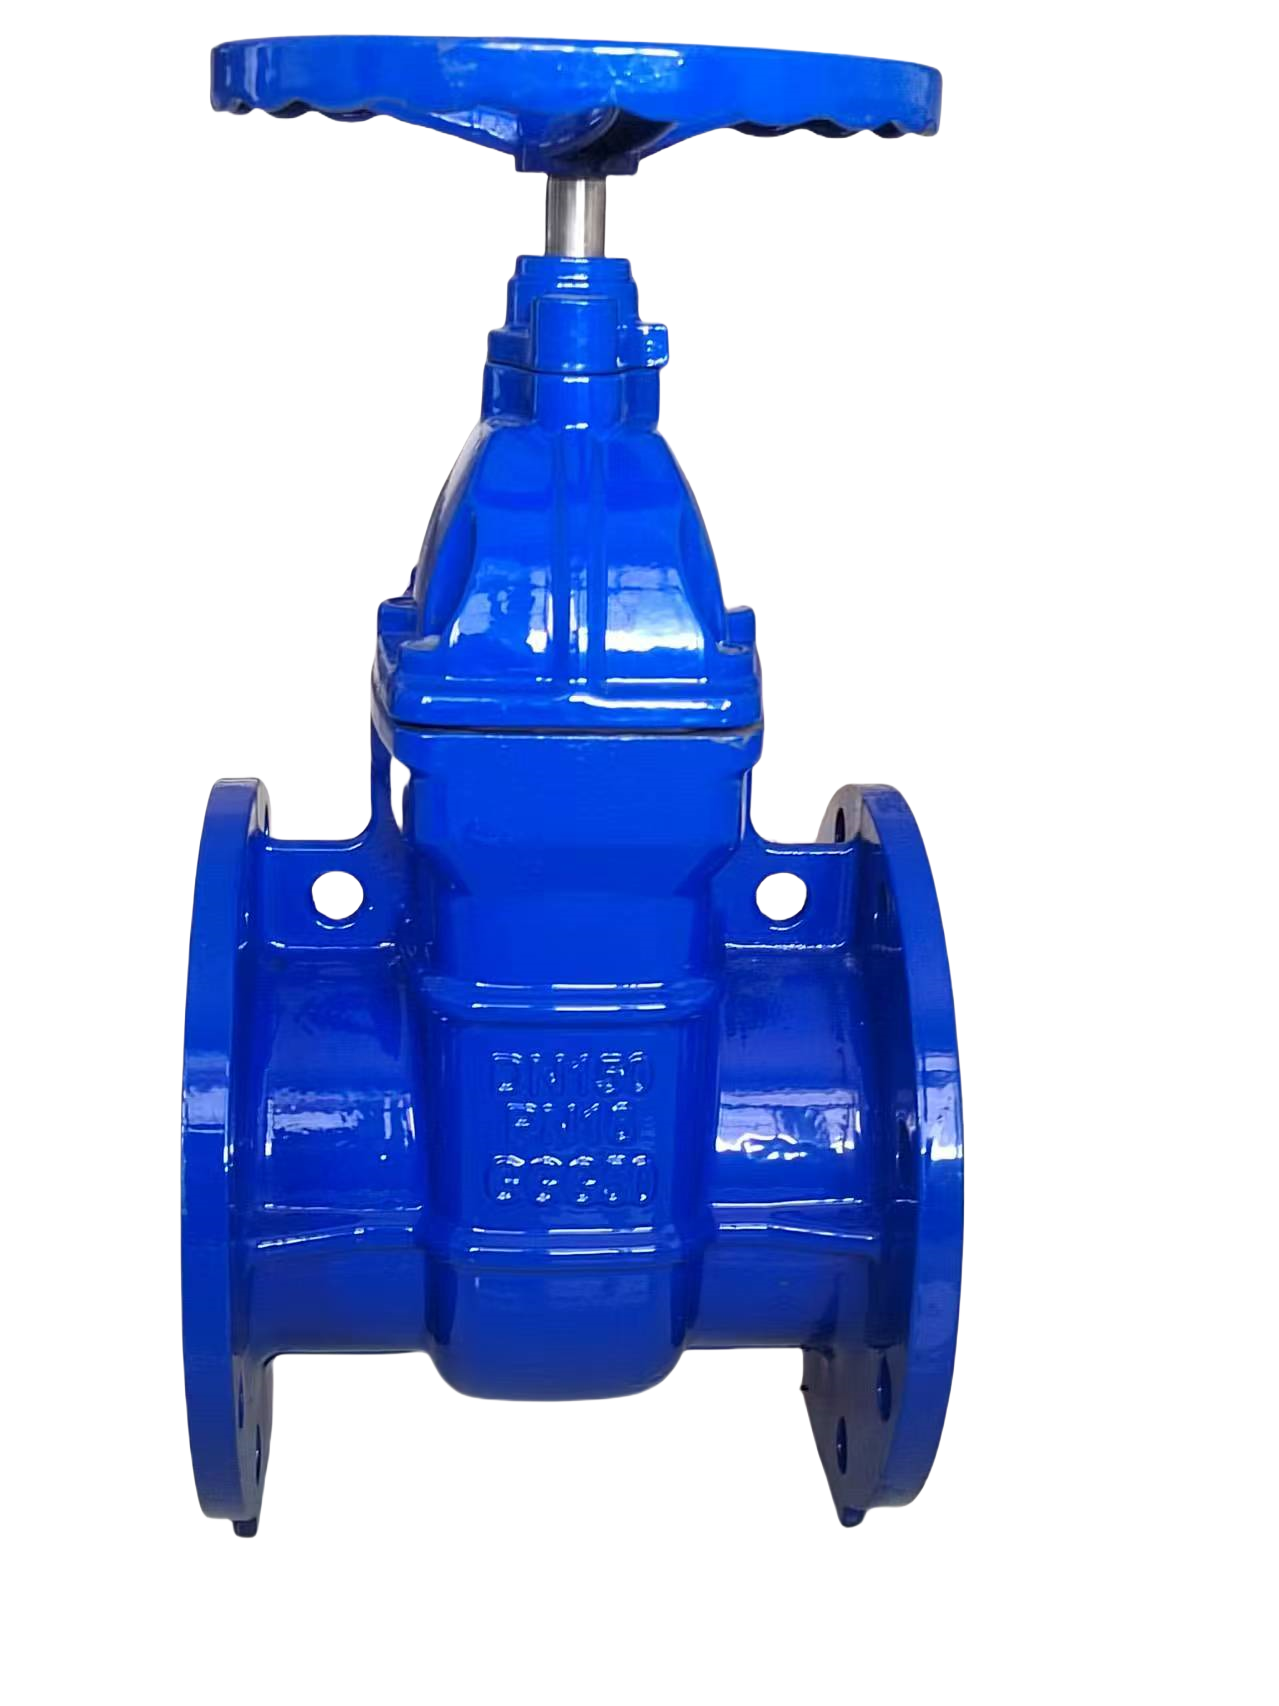
How to maintain metal sealed gate valves?
Release Time:
Aug 20,2025
The maintenance of metal sealed gate valves is a preventive and systematic task. Daily inspection, regular lubrication, and standardized operation are the foundation. Timely handling of small problems to avoid developing into major failures, and regular disassembly and maintenance are the key to restoring performance and ensuring long-term reliable operation
regular maintenance
1. Lubrication:
Valve stem:
Regularly inject high-temperature, specialized valve lubricating grease into the valve stem threads and the contact area between the valve stem and the packing through the grease valve (if equipped) or directly. Be sure to use high-temperature anti-wear grease (such as molybdenum disulfide, graphite, or specialized synthetic grease) that meets the valve specifications or manufacturer's recommendations. Ordinary butter will carbonize and fail at high temperatures.
Before grease injection, it is best to fully open or close the valve (refer to the manufacturer's recommendations for specific positions), and slightly loosen the packing gland nut (about 1/4 turn) to allow for the discharge of old grease/impurities. After grease injection, tighten it moderately.
The amount of grease injection should be moderate to avoid excessive filling causing the valve stem to lock or contaminating the medium.
Valve stem nut/drive device: Regularly lubricate transmission components such as gearboxes, worm gears, bearings, etc. according to the equipment manual requirements.
Fat injection cycle: determined based on operating conditions (temperature, pressure, medium, switching frequency), usually once every quarter to once a year, or increased frequency according to changes in operating resistance
2. Valve action test:
Regularly conduct full stroke switch tests under system shutdown or safety isolation conditions to ensure that the valve functions properly and is not stuck. Record the operating torque (if torque measuring tools are available) and switch time as the basis for trend analysis.
3. Packing adjustment and replacement:
When the leakage at the packing increases and cannot be controlled by uniformly, alternately, and slightly tightening the bolts on both sides of the packing cover, it indicates that the packing needs to be replaced.
Replacing the packing: The system must be depressurized, isolated, emptied, and cooled before proceeding!
Loosen and remove the packing gland nut and gland.
Carefully and thoroughly remove all old packing using a specialized tool (packing hook), taking care not to scratch the valve stem.
Clean the inner cavity of the stuffing box.
Select new fillers that meet the specifications for high temperature and medium resistance (such as flexible graphite rings, graphite braided fillers, metal reinforced fillers, etc.), and strictly cut and shape them according to the manufacturer's instructions (usually with a 45 ° angled overlap).
Press in the new packing ring in a circular and staggered manner (it is recommended to stagger at least 90 ° -120 °), and use a special pressing sleeve or old pressing cover to evenly and appropriately press each circle.
Install the cover and tighten the bolts on both sides evenly, alternately, and gradually to achieve the recommended pre tightening force (usually with torque requirements). Avoid unilateral tightening or excessive compression that may cause the valve stem to get stuck or experience excessive friction.
After replacement, slowly and repeatedly open and close the valve several times to allow the packing to break in with the valve stem, and then adjust the tightening force of the gland as needed.
Hot News


—Contact Us
WhatsApp/Wechat:
E-mail:

Hello, what can I do for you?
We will contact you within one working day. Please pay attention to your email.